HiveOS is a purpose-built cryptocurrency mining operating system by HiveOn. HiveOS greatly simplifies mining rig management by providing a graphical interface and handling all the complex work, such as driver management, automatically. Not only can you remotely manage your GPU mining rigs, but you can also manage ASICs.
You can use HiveOS for free for up to 4 workers if you mine on HiveOn’s pools.
Account Creation
Creating a user account is relatively straightforward. You will need a valid email address to get started. We also recommend you enable multifactor authentication (MFA) once you finish creating the account.
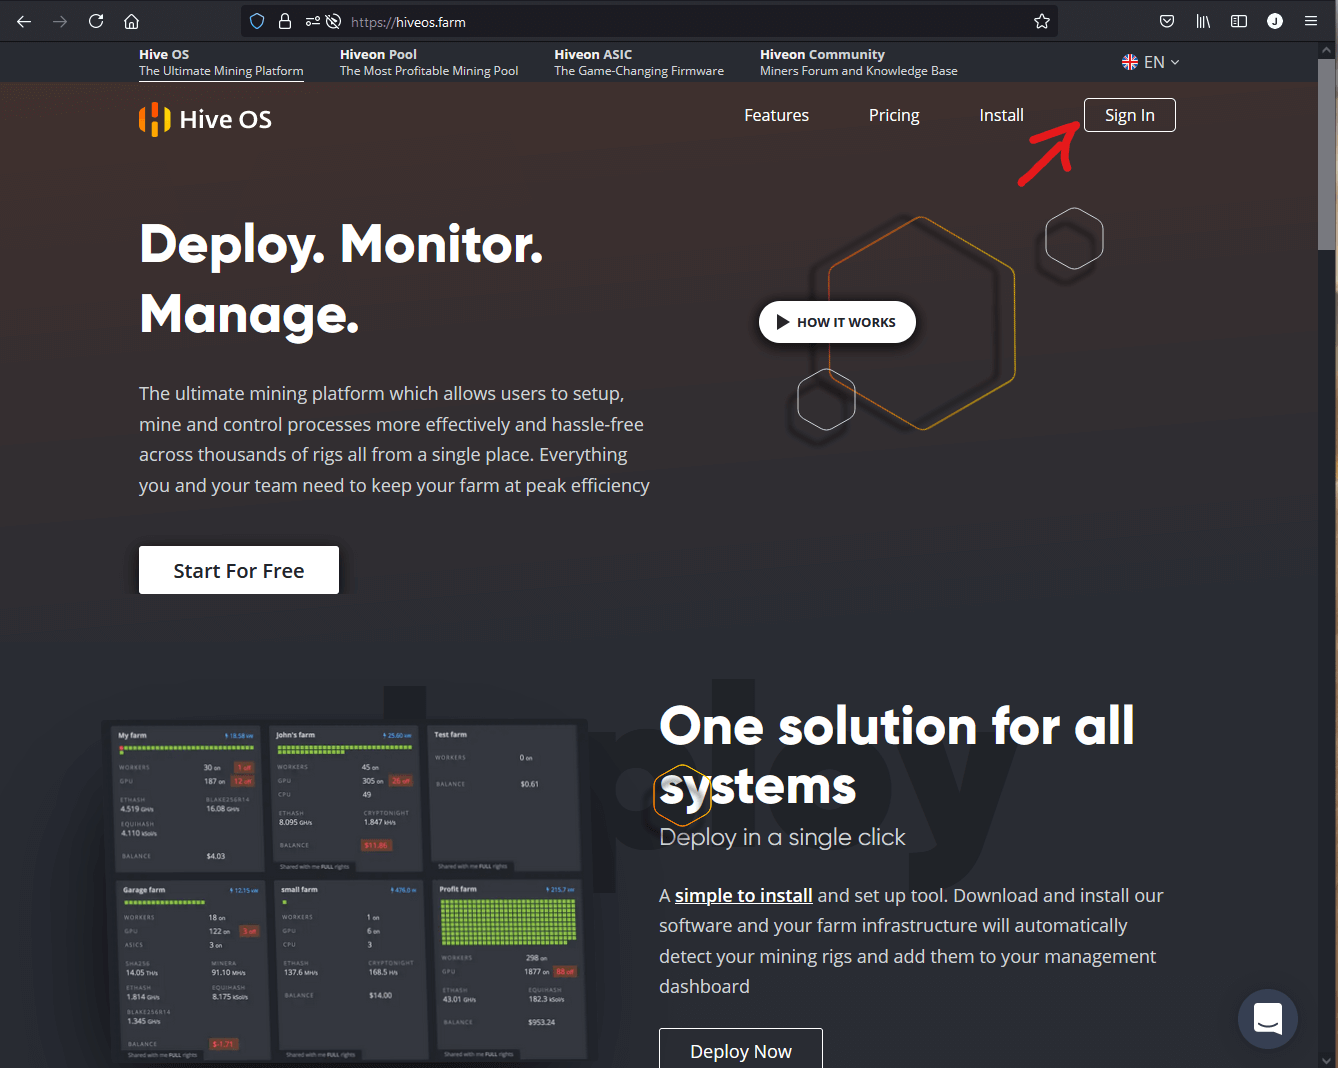
- Navigate to the HiveOS site.
- In the top right of the page, click on “Sign In”.
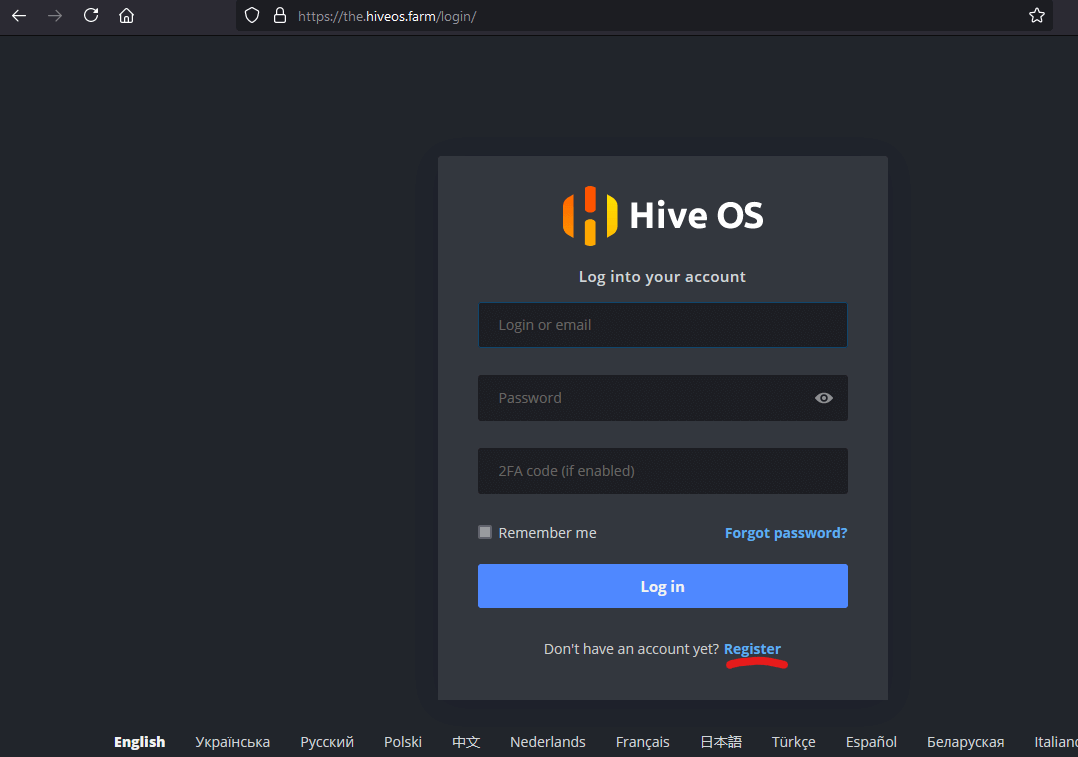
- At the bottom of the login dialog, click on “Register”.
- Fill in your email address, login name (can be anything you like), and password.
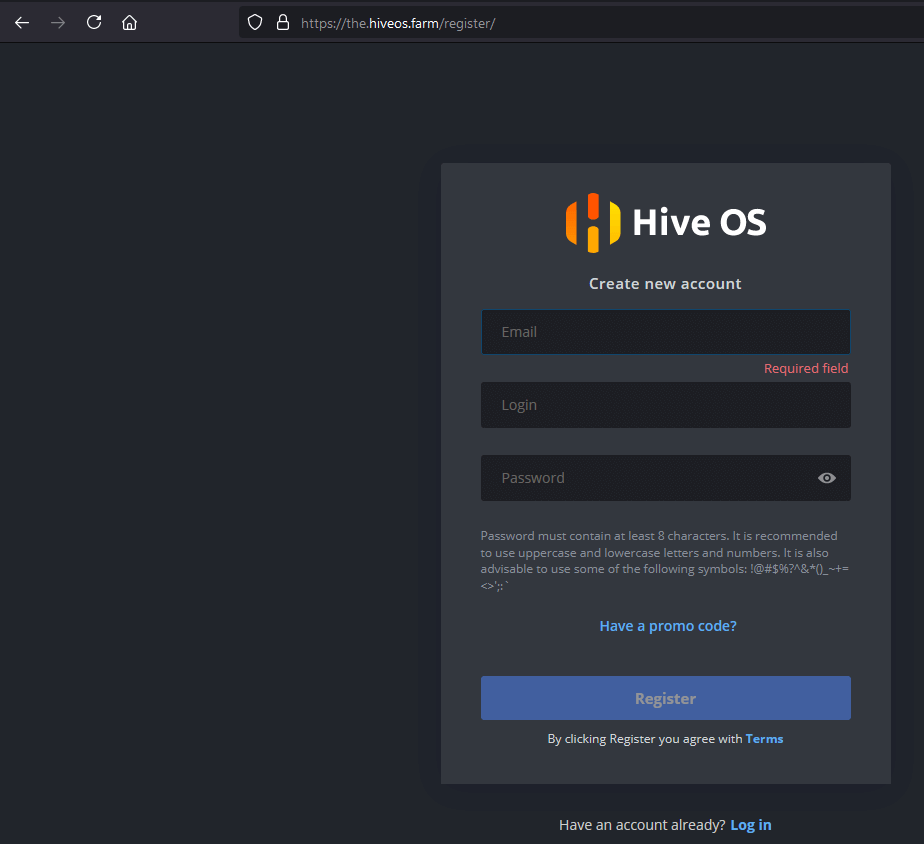
- Hive will send a confirmation email. You will need to enter the code provided in the email to continue.
Granting Tech Support Access
One of the most powerful options in HiveOS is the ability to grant access to others. This can allow someone to view the status of the rigs without being able to change anything. You can also grant higher levels of access such as “Tech Support”. This allows someone to help manage the rig configuration (overclocking, flight sheets, etc.).
Warning: Never grant access to your farm unless you trust the person.
- Log into HiveOS.
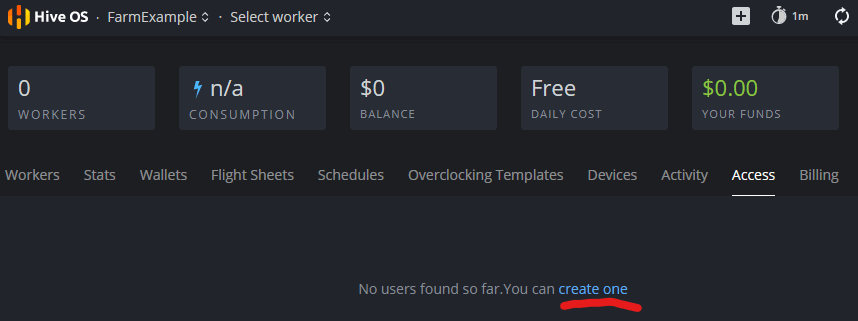
- Click on the “Access” tab.
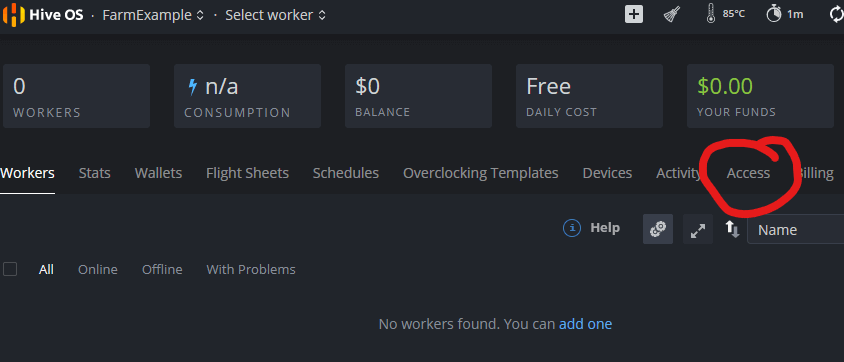
- Click on the “create one” link.
- Enter the user’s login name (or email)
- Choose the appropriate access level.
If you’re configuring access for Chain Critical support, please choose “Advanced”.
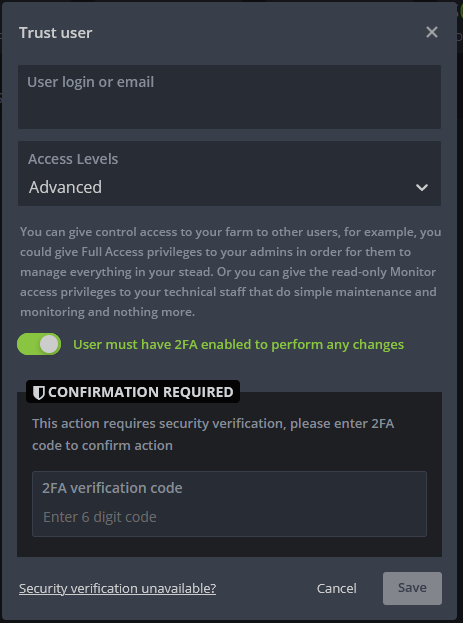
- Click “Save”